So the battery of my almost brand new (ok it is from 2012) Lenovo W530 lasted about 2 minutes when not plugged into mains power. Since the laptop is still OK I bought a replacement battery that fitted fine but the laptop greeted me with the following BIOS message.

Of course that is purely to protect me, because nobody else can make batteries like Lenovo. It has of course nothing to do with the fact that 3rd party batteries cost about 40euro and the Lenovo way over 100euro. And even if I would want to pay it, they are not available anymore.
Breaking things Open
So returned the replacement battery and broke open the old Lenovo battery pack. Since they simply use 18650 cells I got 9 and started rebuilding the battery pack. Of course doing something like this is nicely prevented in more modern laptops by using custom LiPo packs that are glued in such a way that it is simply dangerous to get them out.
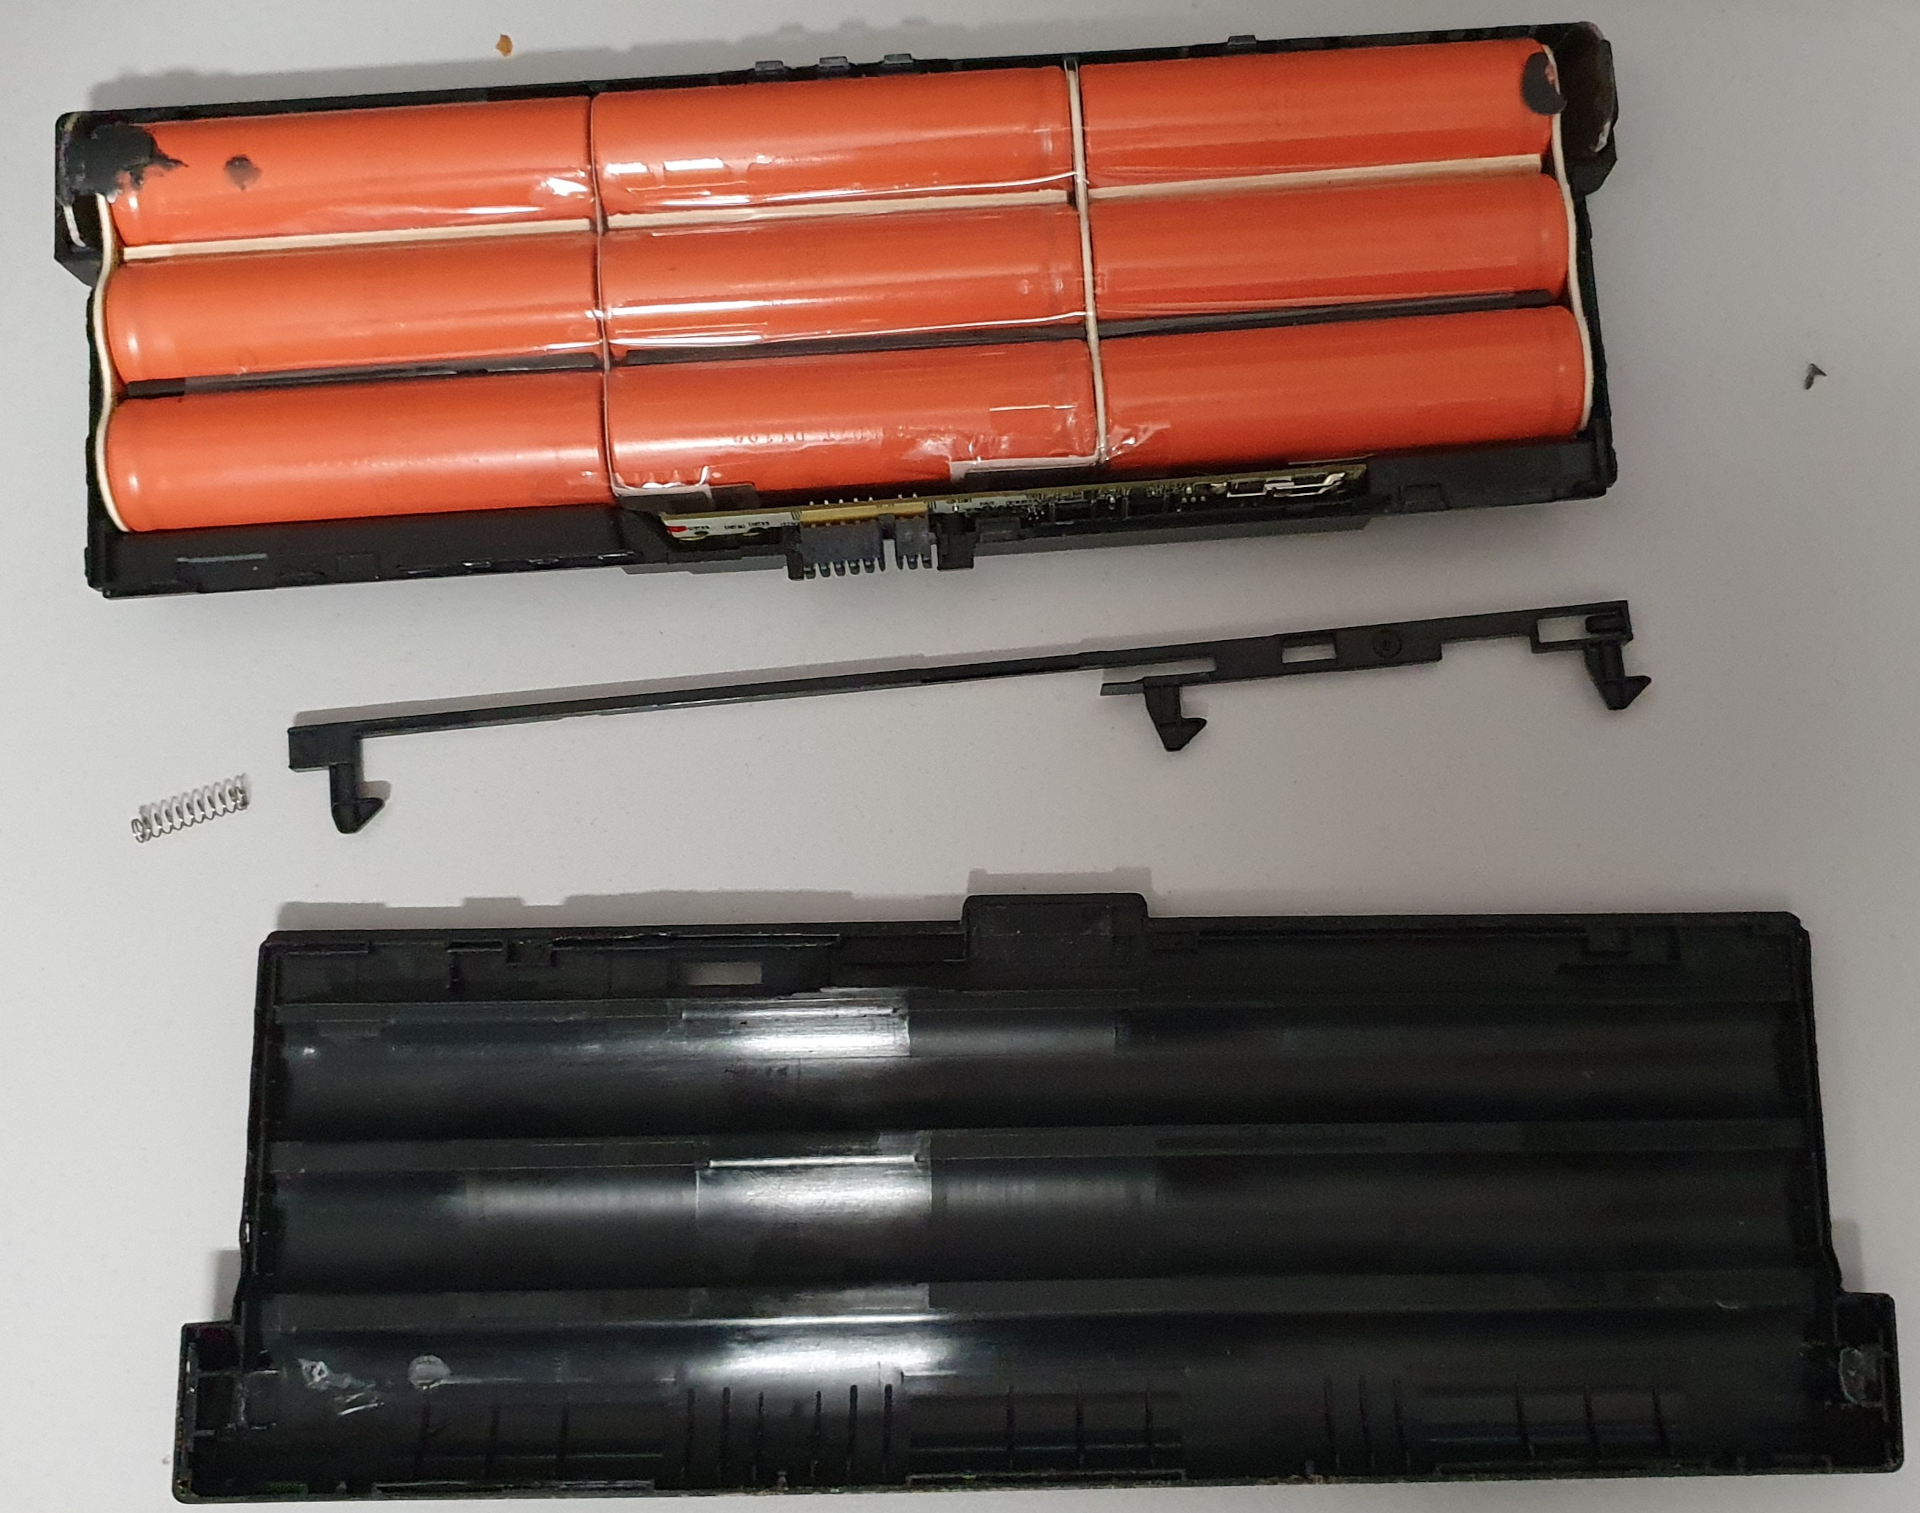
After breaking it open I of course broke several plastic taps and a tiny spring jumped onto the floor trying to hide from me. After quickly drawing down a schematic on how everything was connected I heated up the soldering iron.
Soldering
The battery pack consists of 3 cells in parallel and 3 in series. So first I made sets of 3 cells that I soldered together with some thin copper strips (after the fact it might have been better to have used thinner copper strips). One very important thing was the royal use of kapton tape, since on the positive side of the cells the copper strips cross the negative housing of the cell. And copper is a very good heat conductor and when soldering the strips to the cell there is a high risk of melting the plastic of the cell and causing a short circuit. To prevent that the heat resistent kapton tape was used.

After 3 packs of 3 cells were made, they were combined to a single pack of 9 cell.
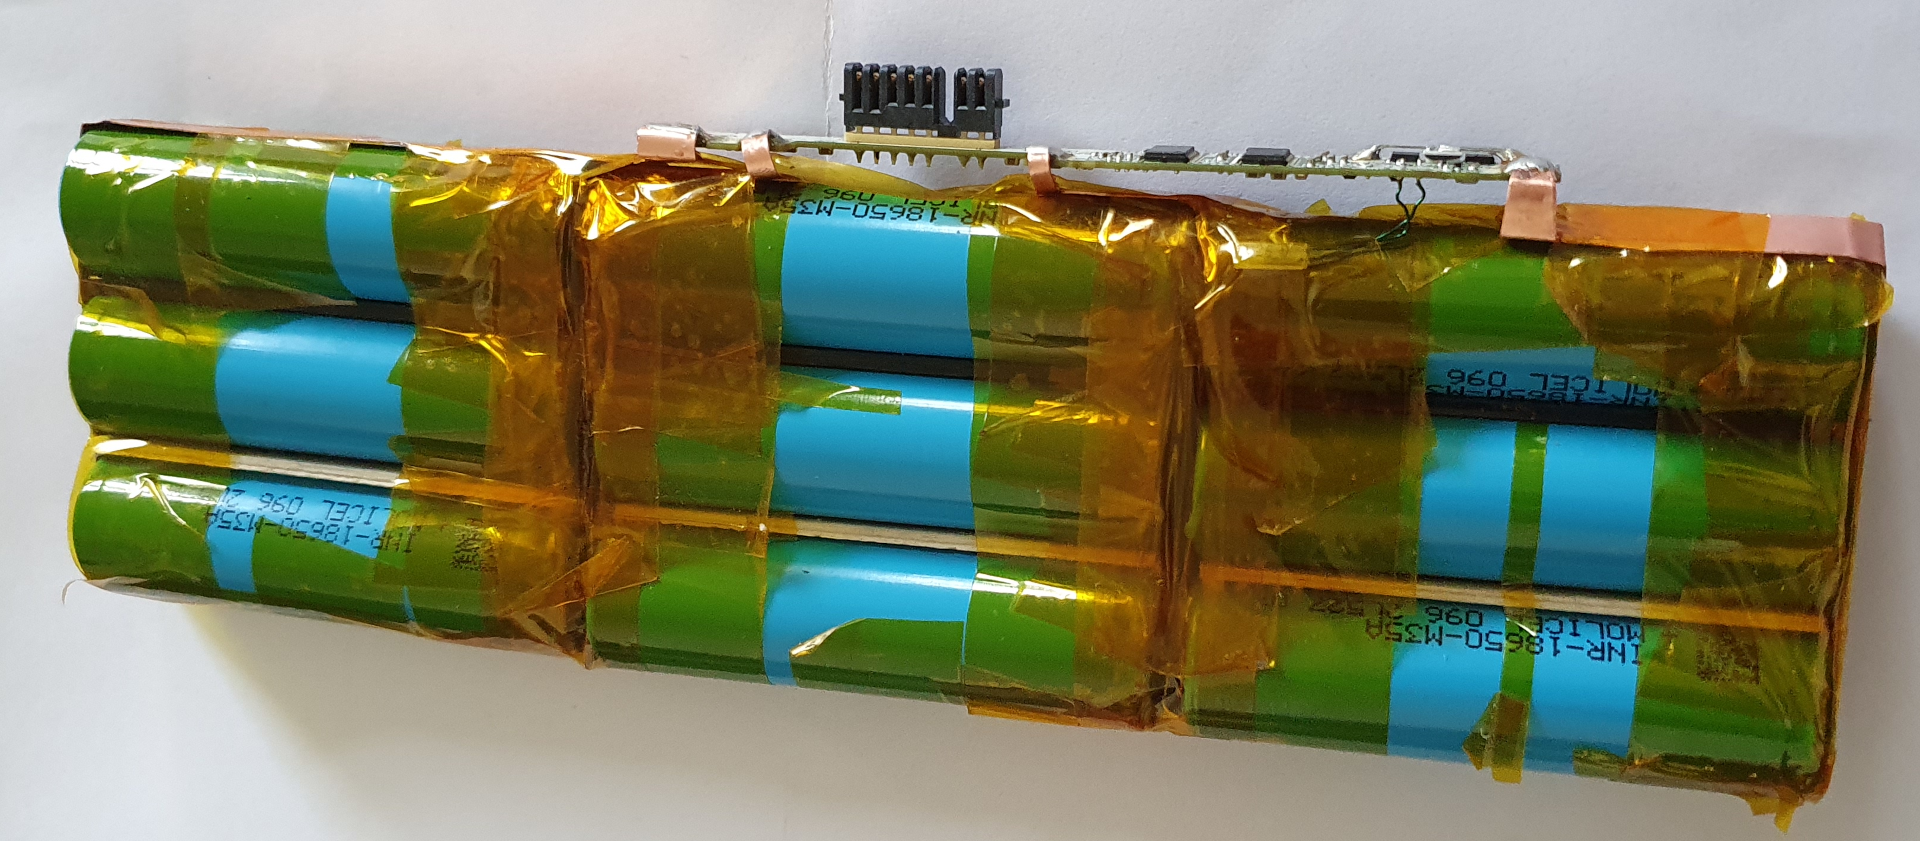
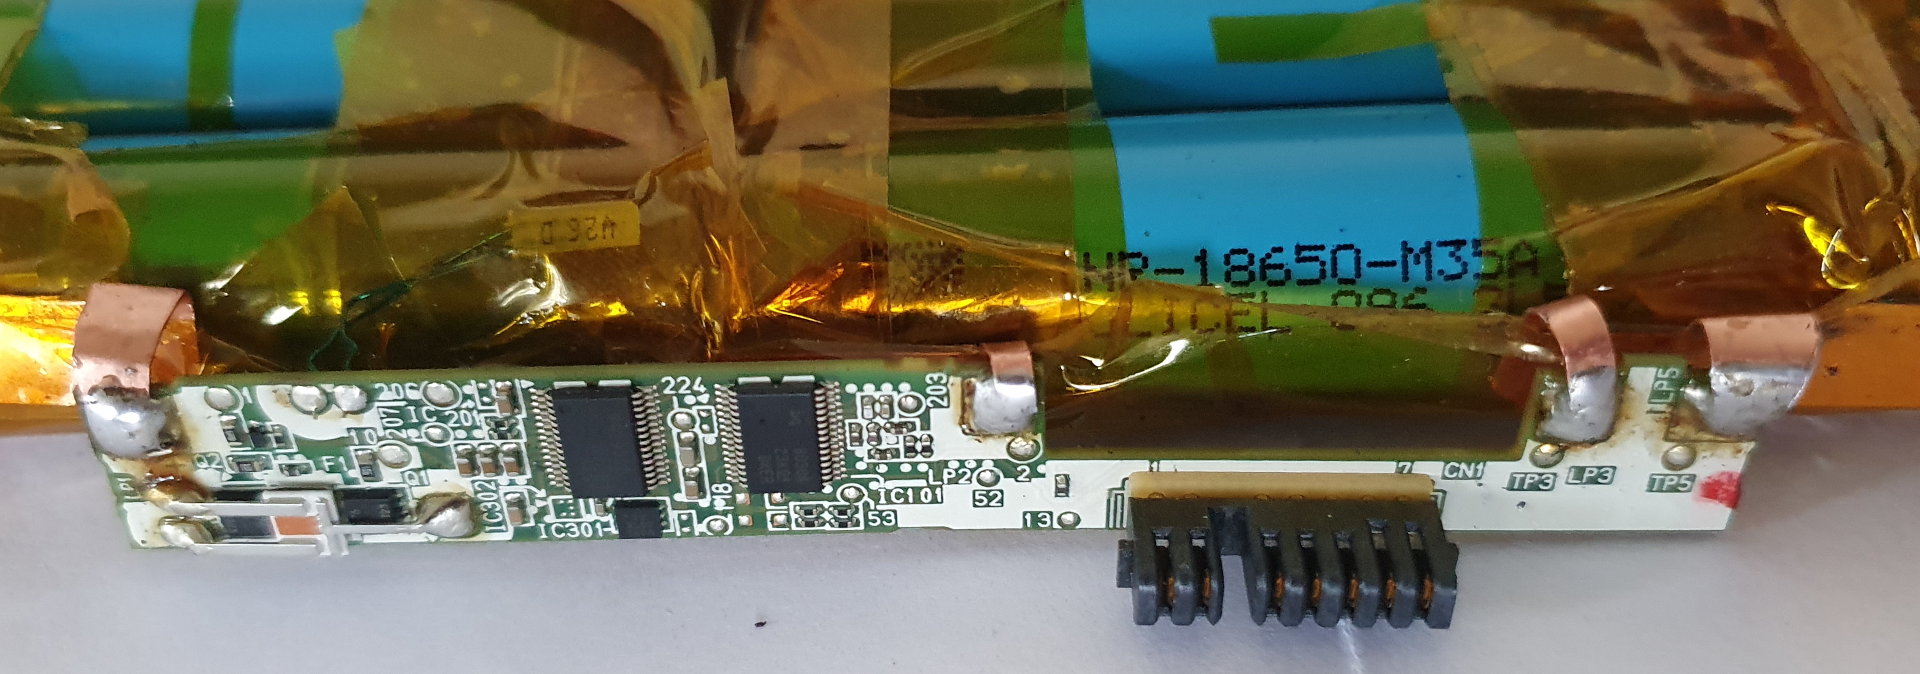
And the BMS was connected again, here I wished I would have used a bit thinner copper. It was tricky to bend the copper strips in such a way that the BMS ended up in the right position and orientation.
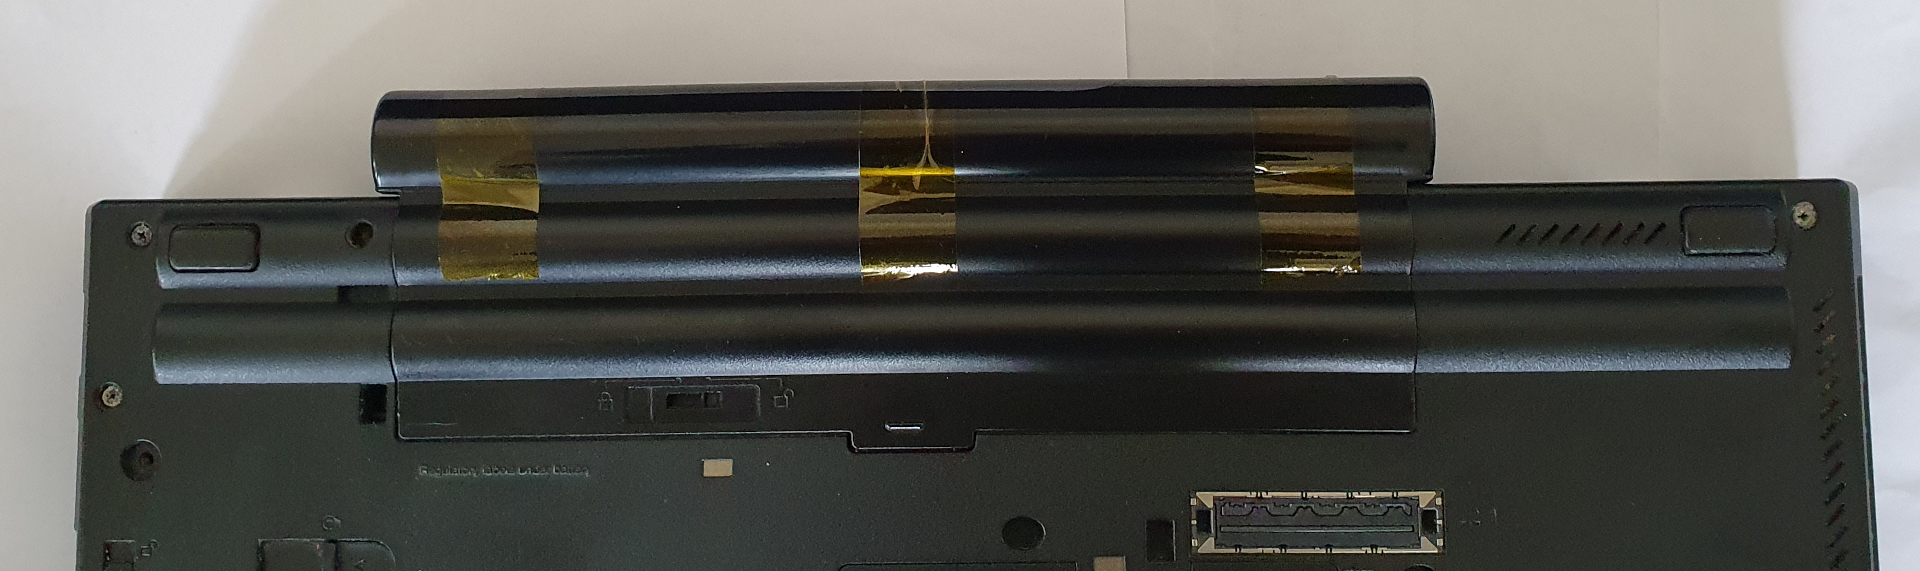
But in the end it fitted in the original housing (after e bit of Dremel action).
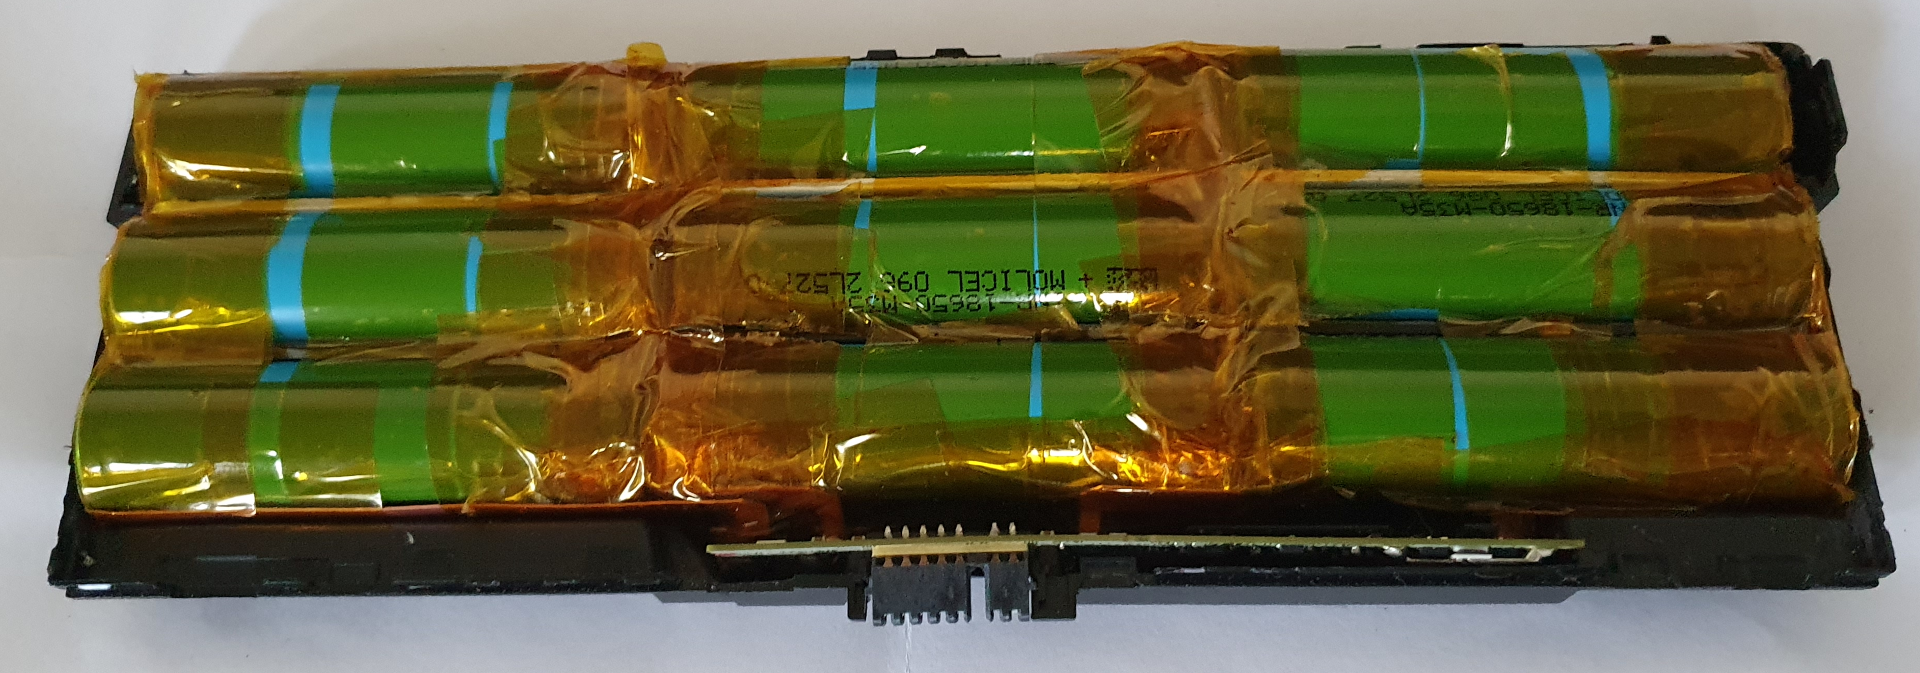
And since I broke of several taps that hold the battery case closed, there was some tape needed to fix that problem. Even if it is a tight fit, it works fine. The laptop has about 4 hours of run time again, instead of the 4 seconds that it had on the original batteries.
Conclusion
Well was it worth it, hell no, the amount of time that I spend on it would almost have paid for a new laptop. Next time I would have done it differently, I would have kept the new battery, and just swapped the BMS. But in the end it was a fun exercise. At least I did something for the environment by not simply throwing, something that still works, away because some company wants to make more money.
Of course the next green washing company, Microsoft, already informed me that next year the laptop is junk because it can not run Windows 11, a 8 core cpu with 16GByte RAM is not good enough for that OS.
Warnings
Do not try this at home kids. Those batteries pack a lot of energy in a small space, and when you release that energy, by for example a short circuit, you have a serious risk of fire. And even though 18650 cells have a relatively robust construction, if you happen to pierce them they catch fire, and that fire is very hard to put out.Also, no, I do not offer this as a service. The liability would just be way to high, and with my hourly rate it is also simply not economical.
Feedback
Feel free to give feedback on Linkedin